Server Deployment
We recommend deploying the Server via Docker! Direct installation on the host is not recommended.
Note ⚠️: The startup commands for client and server may change as the project evolves. Although we strive for backward compatibility, the commands generated by the Master’s web UI should be treated as authoritative.
The
defaultserver cannot be deployed separately. It should be configured in the webui. Repeated deployment will cause thedefaultserver to malfunction.
The
serverwill occupy port 8999. Please ensure that this port is not occupied. If there is a conflict, please modify theSERVER_API_PORTandINTERNAL_FRP_AUTH_SERVER_PORTenvironment variables of theserver, ensuring that the two ports are the same. Thedefaultserver will also occupy this port, so you cannot deploy theserveranddefaultserver on the same machine with default configuration. You need to modify the environment variables of theserverto avoid conflicts.
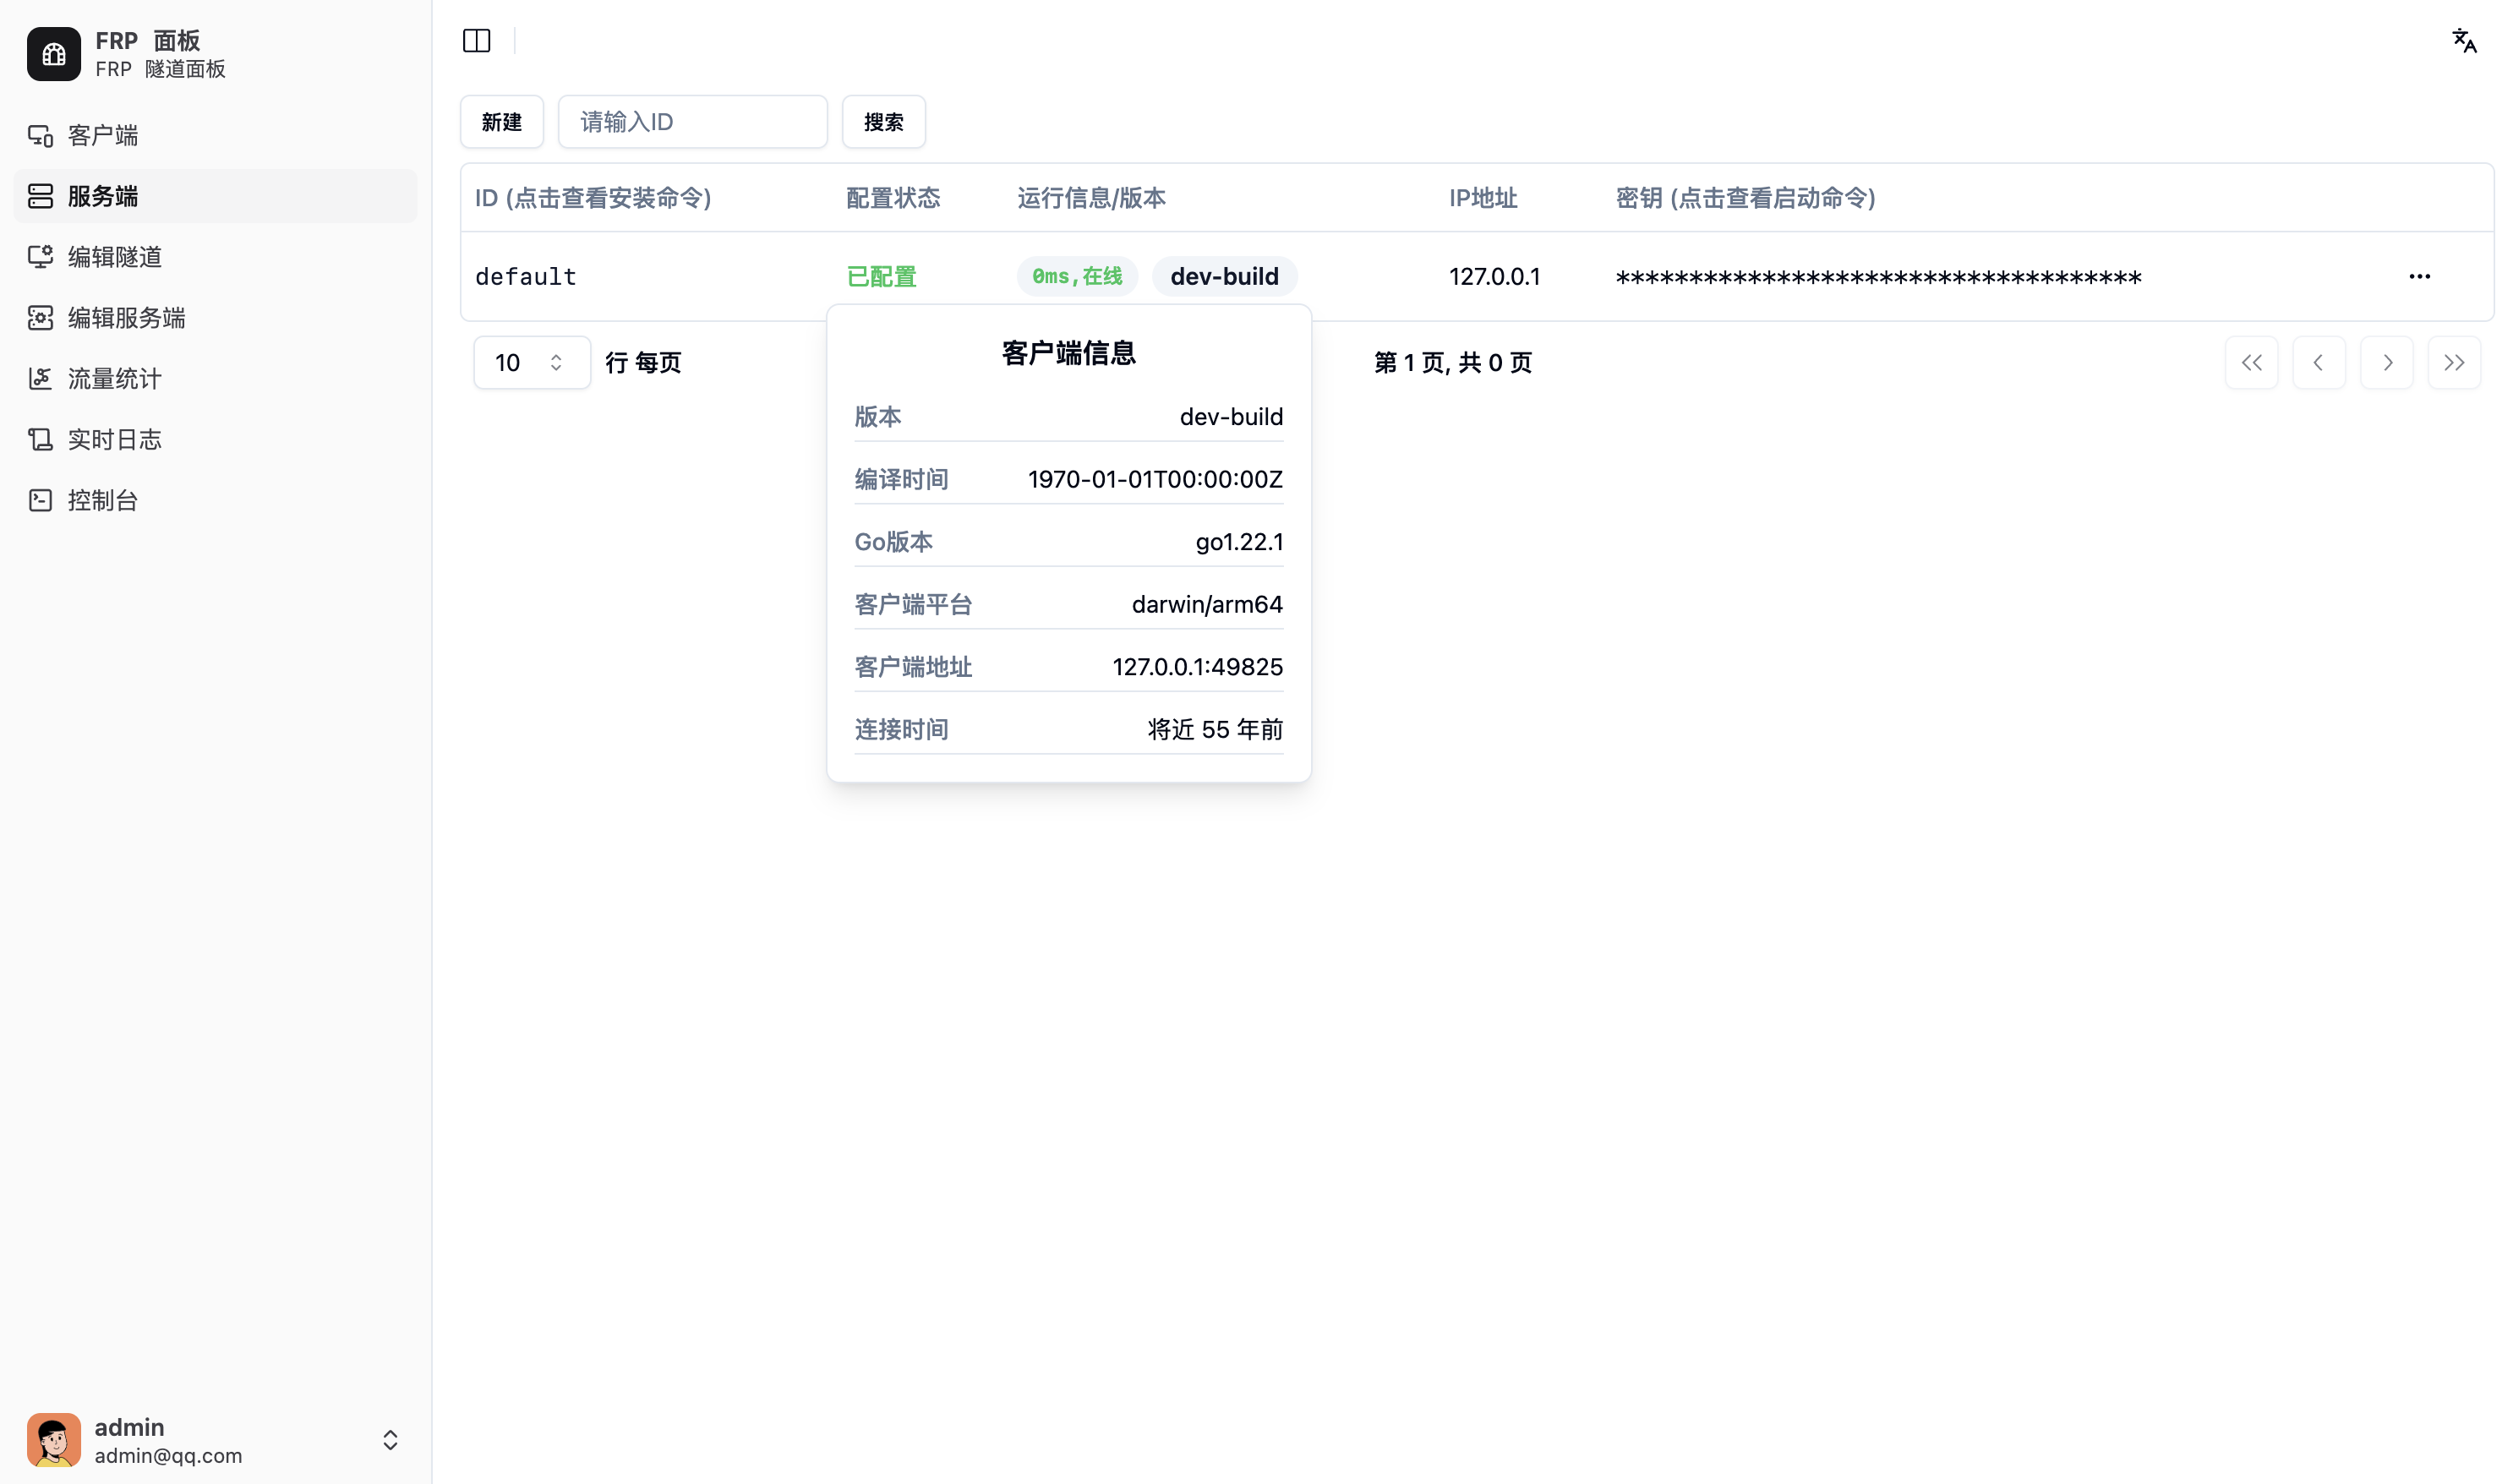
If you only have one public-facing server to manage, you can use the Master’s built-in
defaultserver without deploying a separate Server. Remember to configure thedefaultserver after starting the Master.
Deploying on Linux
1. Preparation
Open the Master’s web UI and log in. If you don’t have an account, register—your first user will be the administrator.
In the sidebar, navigate to Server, click New, and enter:
- A unique Server ID
- The public IP or domain name where the Server can be accessed
Then click Save.
After refreshing, your new Server appears in the list. Click the Key (show startup command) field for that Server and copy the generated command, e.g.:
frp-panel server -s abc -i user.s.server1 --api-url http://frpp.example.com:9000 --rpc-url grpc://frpp-rpc.example.com:9001If you are using a reverse-proxy with TLS, proxy external port 443 to the Master’s port 9000 (API) over HTTP upstream, and adjust the command accordingly:
frp-panel server -s abc -i user.s.server1 --api-url https://frpp.example.com:443 --rpc-url wss://frpp.example.com:4432. Installation
Docker Compose
Create a docker-compose.yaml:
version: '3'
services:
  frp-panel-server:
    image: vaalacat/frp-panel
    container_name: frp-panel-server
    network_mode: host
    restart: unless-stopped
    command: server -s abc -i user.s.server1 --api-url http://frpp.example.com:9000 --rpc-url grpc://frpp-rpc.example.com:9001
Direct Execution
If you prefer to run directly (without a service manager), follow the steps in the Client direct-run section.
systemd Service
To install as a systemd service, refer to the Client systemd deployment instructions.
3. Server Configuration
After installation, modify the Server configuration according to your network and requirements; otherwise, Clients cannot connect.
Deploying on Windows
Please refer to the Client deployment steps for Windows.